Adult slipper tutorial
Hubby asked for some slippers and when I found this dinosaur material I knew he would love it (I know what you are thinking...and yes he is an adult who is a fan of dinosaurs!).
This is my first tutorial - so apologies if it isn't very clear (please ask if you need clarification and I will help!).
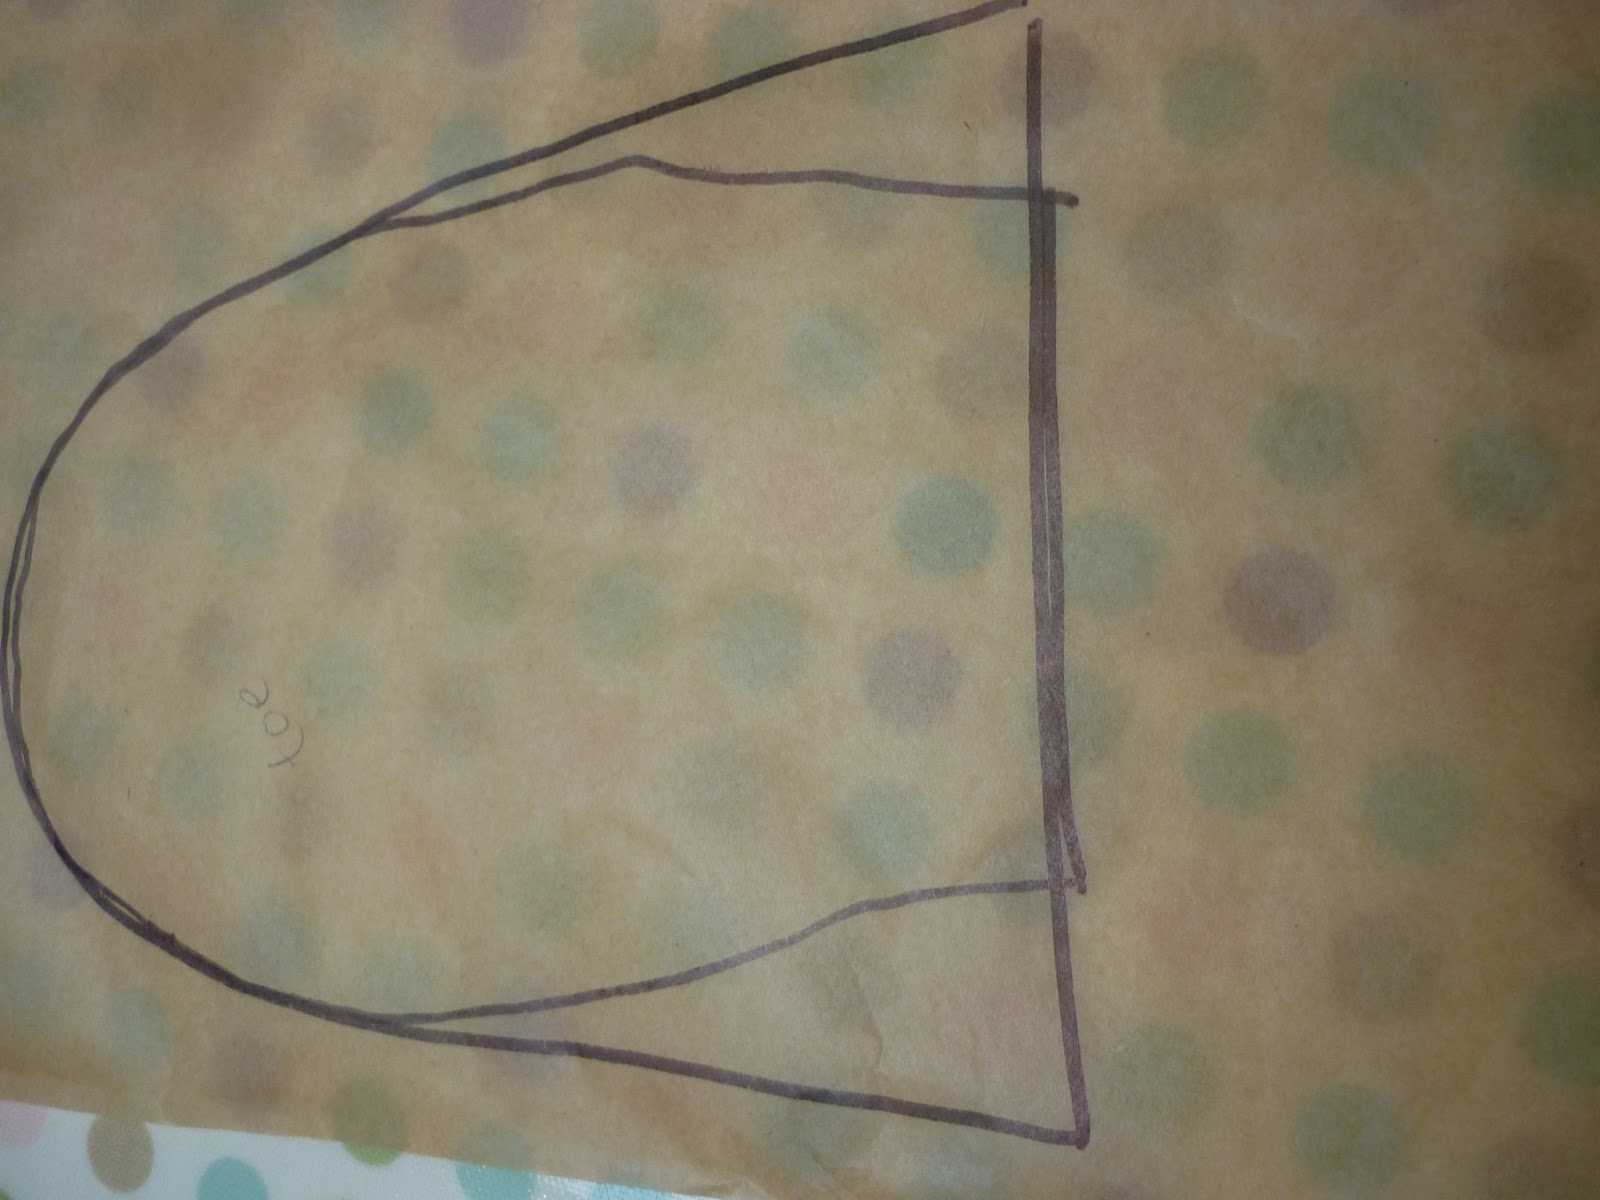
Firstly you need to create your template. Use a shoe that fits. Draw round the shoe (add and inch all the way round).
Cut out this template (this will be your sole - you can flip it round to make the other slipper).
To make the toe template draw around your sole template adding 1/2" all round.
Continue the toe down the sole template until you pass the halfway point of the sole template. Increase the edges of the toe template to fill out the shape.Draw a straight line to join your start and finish points together. Cut out - this is your toe template.
Around the heel on your template (ensure that you measure beyond the halfway mark of the sole template. I did mine 15" and still think it is too short!
 Use this length to draw a straight line (the top of a rectangle). measure 3 inches down from this line (this will be the edge of your rectangle) join all the lines up to create a rectangle. Cut out - this will be your heel template.
Cut out a piece of wadding using your sole template - make it 1/2" small all the way round. This will be your inner sole of the slipper. Now cut out your fabric. I used fleece and patterned fabric.
So you should have (in whatever combination of fabric you have chosen) 4 toe pieces, 4 heel pieces, 2 wadding pieces in sole shapes, 4 soles (2 for each foot - don't forget to flip over your template so that you have a right and left foot).
Let's assemble to toe piece first. Sew 2 toe pieces right sides together along the straight edge
 clip the seam and turn the right side out. Top stich along the straight edge. Next you need to cut 2 slits on the wrong side of your fabric (only snip through the back piece of fabric...DO NOT cut through both pieces of fabric) - this will be where your elastic will thread through. Now is also the time to add any embellishment that you may want to add onto the toe (flowers/heart etc)
 Repeat for the other toe piece. Put the 2 toe pieces to one side.
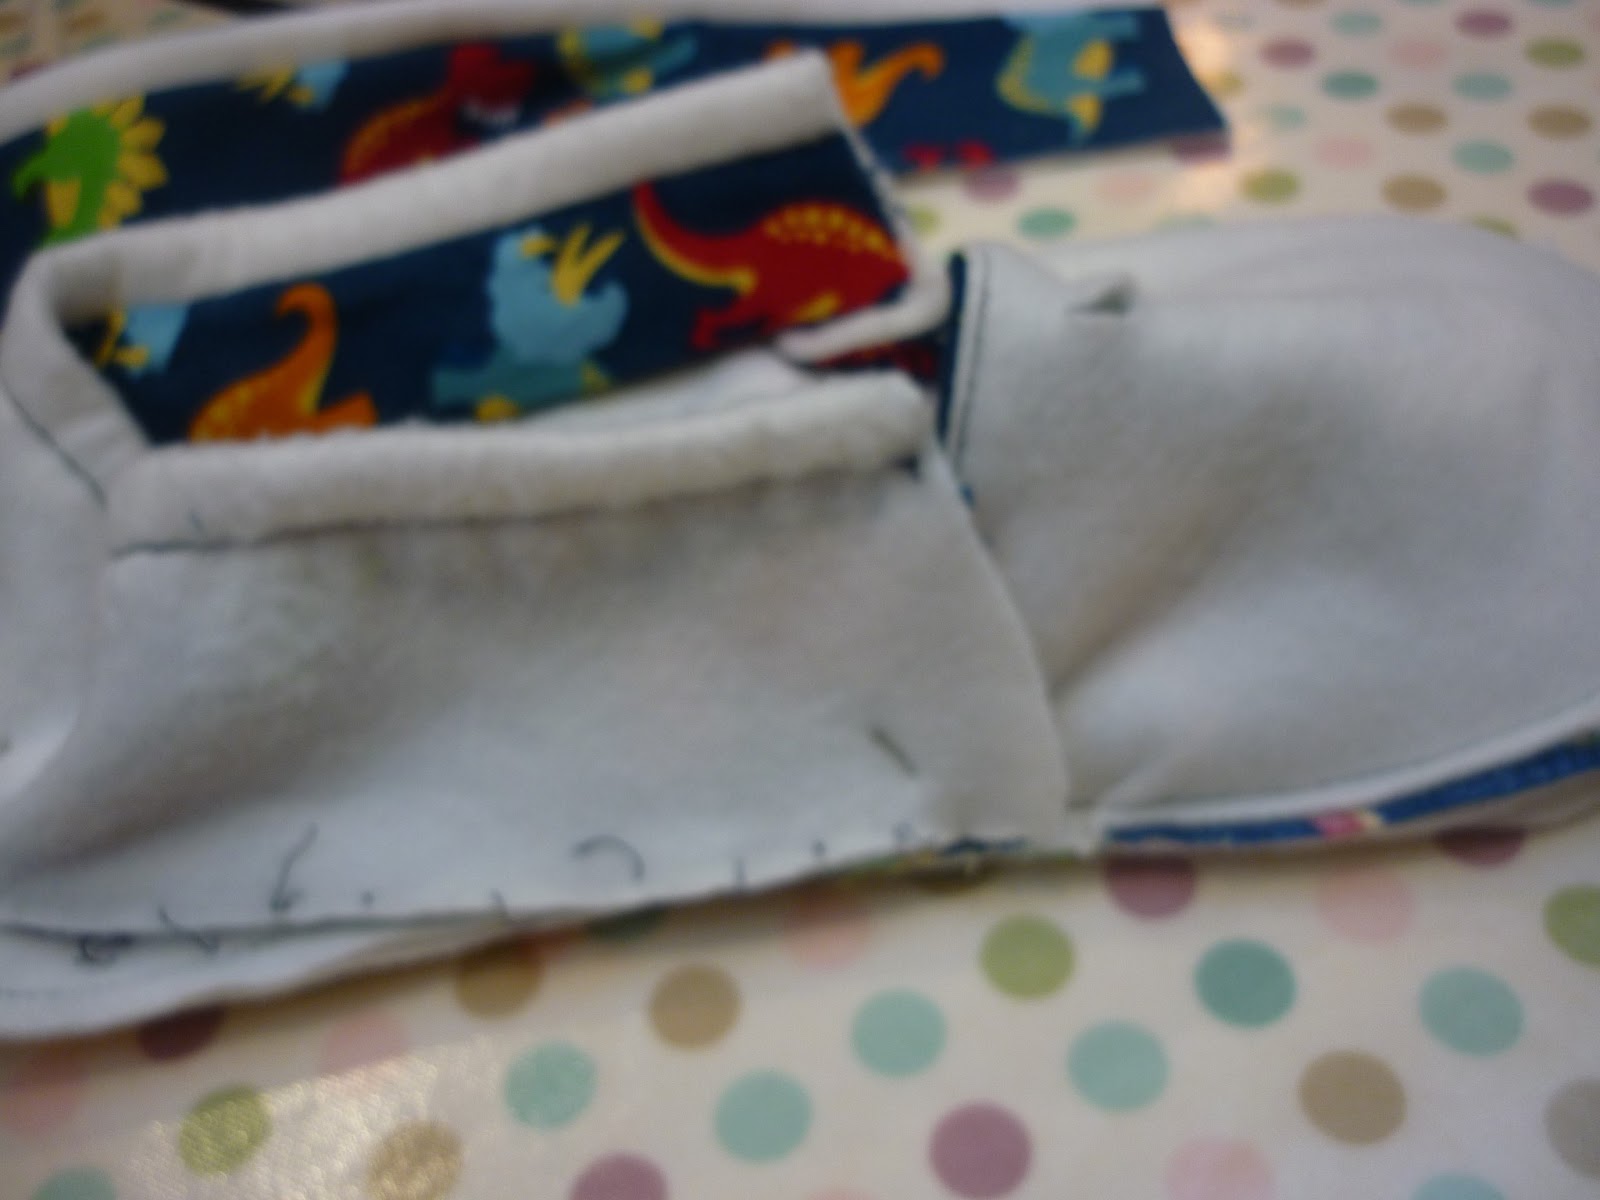
To assemble the heel - get 2 pieces of heel material and sew right sides together along one long edge of the rectangle. Clip the seam and turn right side out.
 Fold the inner material (in my case the fleece) over the edge of the outer material. This overhang should be about 1.5cm - this will be the casing for your elastic...so you do need to be accurate).
Stitch in the ditch to hold this in place.
Cut any excess material - there will be an overhang of your inner material - trim it off. (It should look like the bottom piece in the bottom picture!).
Repeat for the other two heel pieces. Put the completed heel pieces to one side.
To make the sole; sandwich a piece of wadding between 2 matching sole pieces - i.e. two right feet together (remember you will have a right and left foot sole)
(Note - your wadding piece should be smaller than the one in the picture...learn from my mistakes!)
Pin the toe piece, right side down, onto a sole piece (whichever material is facing up on the sole will become the actual bottom of the slipper...so adjust accordingly. I chose fleece for the inner and out of my sole so it made no difference).
 (in this picture the sole is already sewn - you don't need to do this...although it may help if you are struggling to keep all the layers together. It make the inside of your slipper look more messy though - not the end of the world!)
Next, pin the heel piece to the sole (with the wrong side facing up).
Sew through all layers - so that should be a sole piece, wadding, another sole piece, the toe piece and a heel piece. Ensure that the heel piece is on top of the toe piece. In the picture mine is overlapping, but really it needs to overlap more so. Repeat for the other slipper.
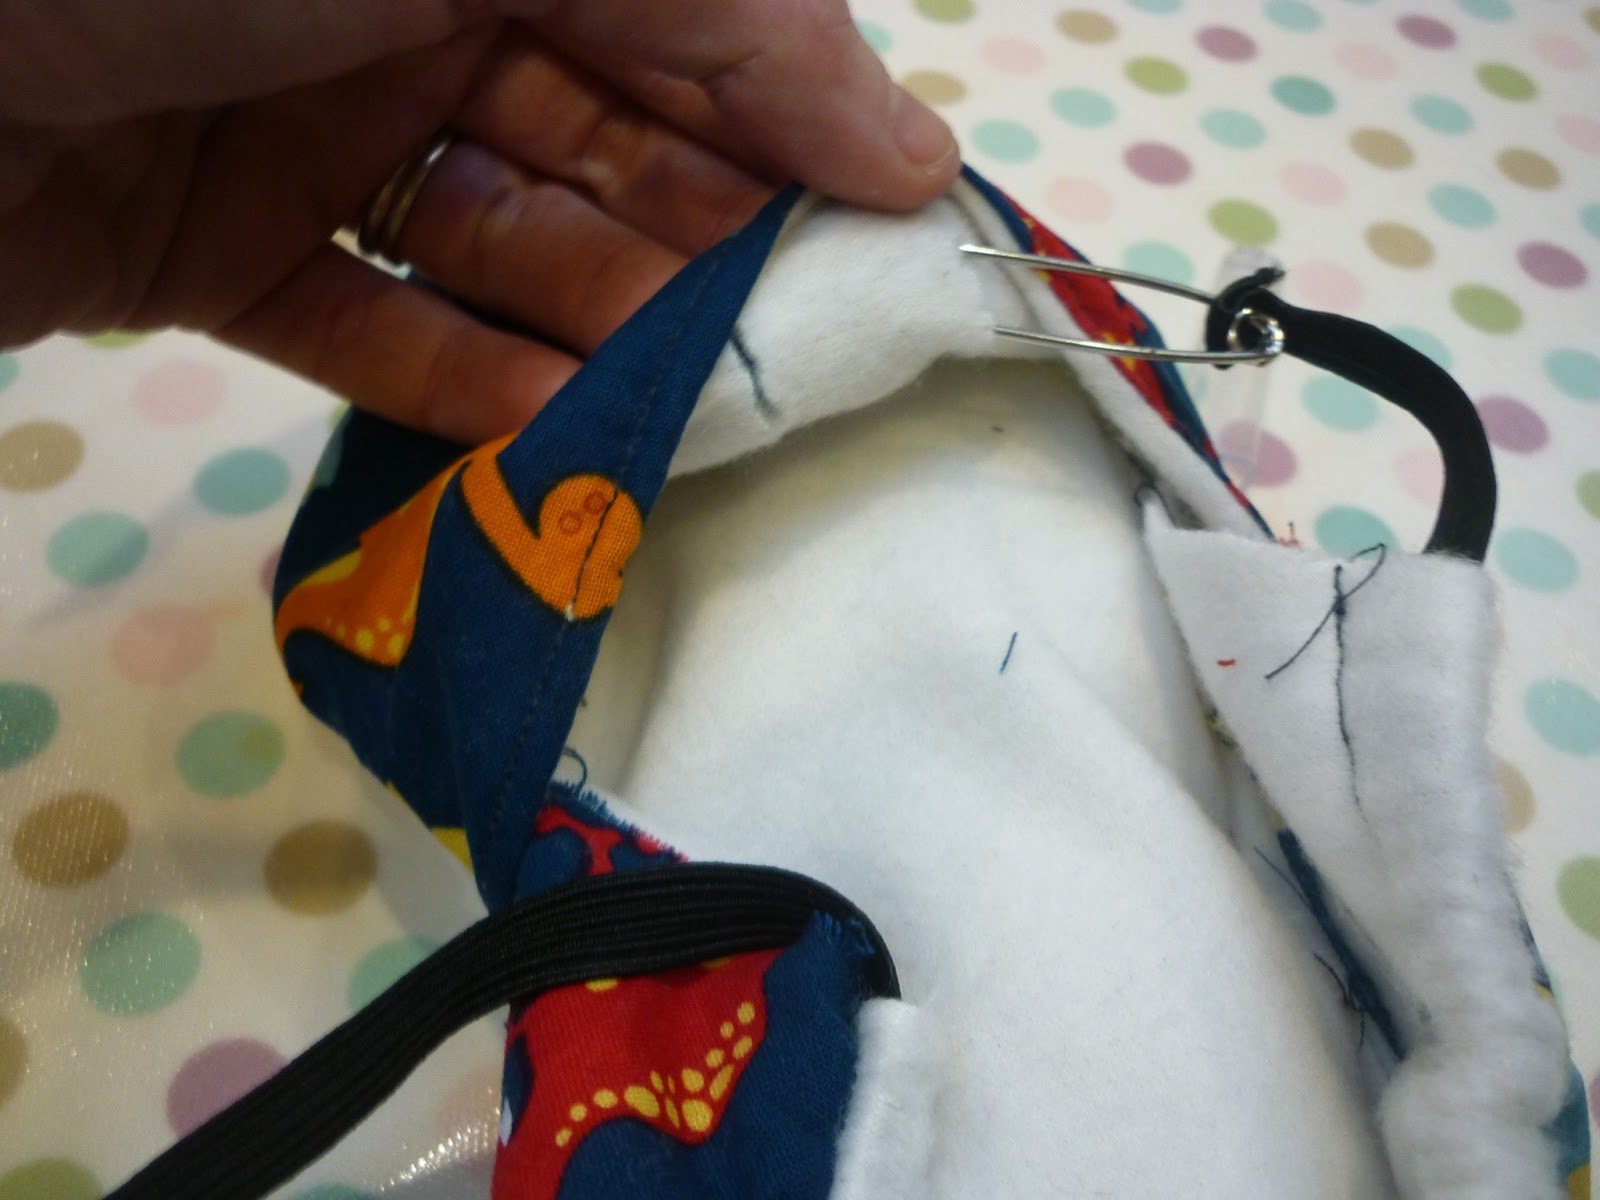
Turn the slippers the correct way out and thread a piece of elastic through the heel casement (I use a safety pin to help).
Thread all the way round the heel piece and then through the 2 slits in the toe piece.
Check the fit - adjust the elastic as necessary and sew the 2 ends of elastic together. Repeat for the other slipper.
Put on...warm feet!
So, how was it for you? Are you going to make yourself a pair for this cold weather? If you do, I would love to see what fabric combinations you choose.
Please note: A lot of time went into this tutorial if you use this please link back to my blog and give credit. This pattern is for personal and SMALL sale use only - please do not mass produce slippers made using this pattern.

 Posts
Posts


 using this tutorial from Sew Mama Sew. Although I did make the bag slightly deeper as I figured Eloise may want to carry more stuff! I used lots of interfacing (as instructed) and I think it came out looking really professional. Eloise has given me my biggest compliment to date, "it is so well sewn"! Thanks Elo :)